Smart Board Installation: Mounting, Power and Network
A practical smart board installation guide for interactive flat panels: wall survey, VESA mounts, mounting height, power, network and handover.
Published 2026-09-23
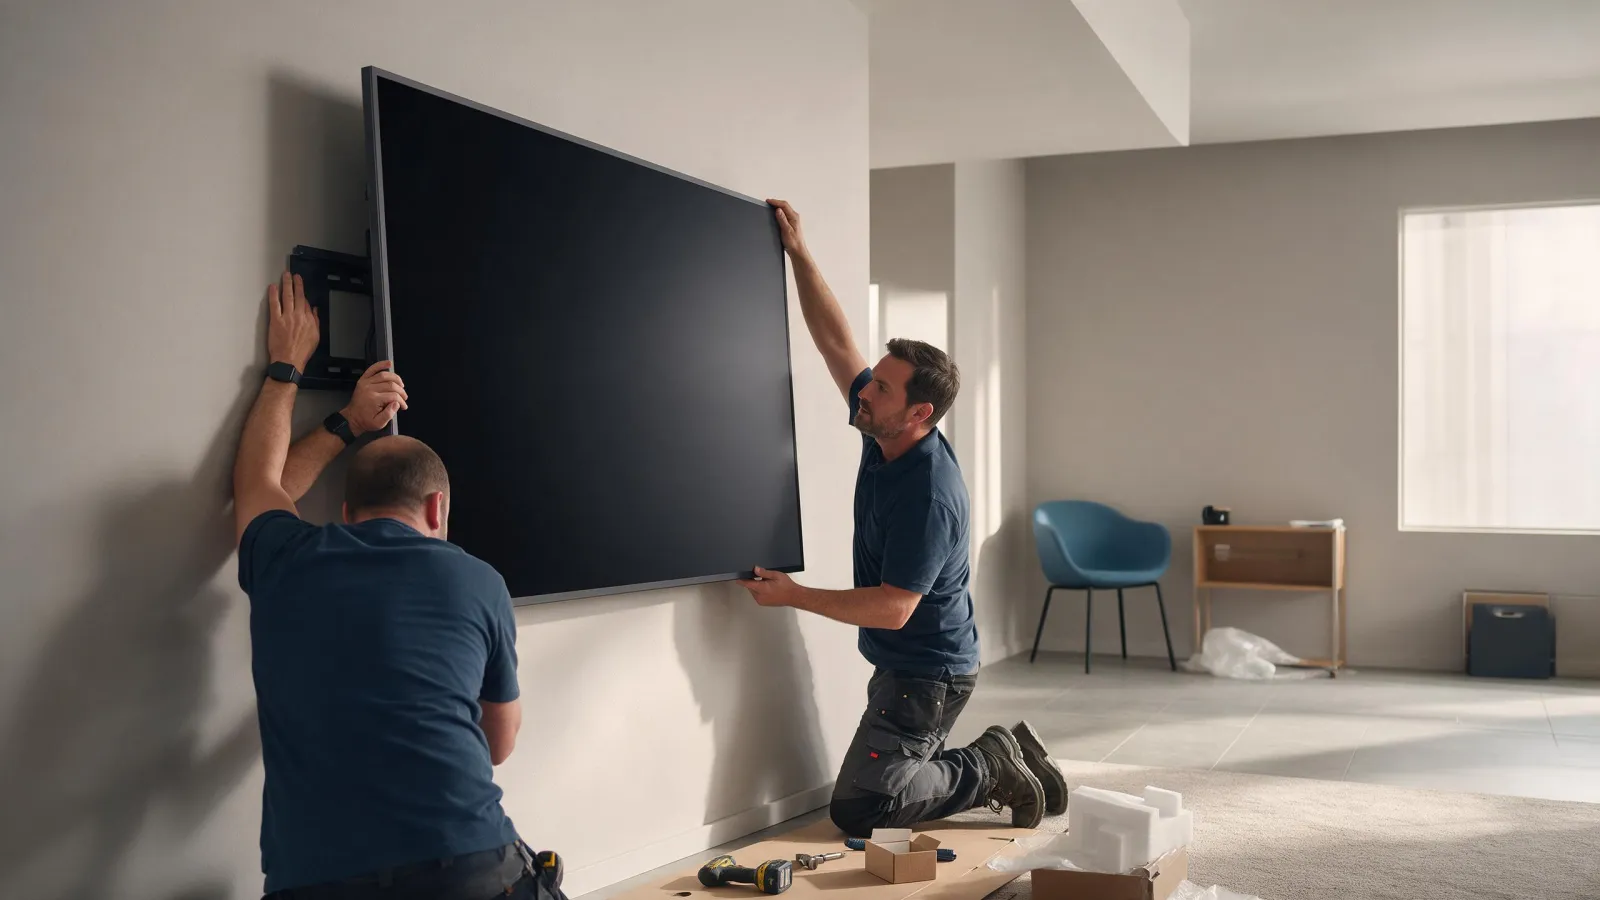
Smart board installation for interactive flat panels is a job that rewards planning. You're dealing with a heavy piece of glass, a wall that may or may not cooperate, and a customer who expects the screen to work on day one. We'll walk through the steps we use when specifying our interactive flat panels, and what to ask any supplier before you drill the first hole. See our classroom installs for the specifications.
Pre-Installation Survey: Wall, Weight, and Room Layout
Before you unpack the panel, check the wall. Stud walls, masonry, and drywall with backing each need different fixings. A panel that weighs 60 kg on a plasterboard wall without proper anchors is a problem waiting to happen. Ask the building owner for wall construction drawings, or use a stud finder and a small pilot hole to check. Don't guess.
Measure the room and the viewing distance. You want the panel big enough for the back row, but not so big that the front row gets a neck ache. The room's lighting matters too. If a window faces the wall, you'll get glare. Move the panel or add blinds. Plan the power outlet and network point behind or near the panel. Running an extension cord across the floor is not a solution.
We don't publish load ratings for our panels. That's a spec you should ask any panel supplier for, along with the VESA pattern. The VESA Flat Display Mounting Interface standard defines mounting patterns for flat displays, and your wall mount must match both the pattern and the panel's weight.
Choosing the Right Mount: Fixed Wall Bracket vs. Mobile Stand
Fixed wall brackets keep the panel exactly where you put it. That's good for a dedicated classroom or meeting room. Mobile stands let you move the panel between rooms, which suits schools with shared resources. We offer accessories including mobile stands, but we don't publish their safe working loads. Ask the stand supplier for that number before you put a panel on it.
Check the VESA pattern on the panel. The VESA FDMI standard covers mounting interfaces for displays from 102 mm to 2286 mm diagonal. Our interactive flat panel models have different sizes, and the VESA pattern varies. The catalogue page for each model lists the specifications we publish. If the pattern isn't there, ask us.
Use a spirit level and mark all mounting points before you drill. For drywall, use appropriate anchors or toggle bolts. For masonry, use suitable fixings. Don't reuse old fixings from a previous install. They may look fine and fail under load.
| Fixed Wall Bracket | Mobile Stand |
|---|---|
| Permanent installation | Flexible room sharing |
| No floor footprint | Needs floor space and cable management |
| Best for dedicated rooms | Best for multi-use spaces |
| Panel height fixed after install | Height often adjustable |
| Lower risk of tipping if installed correctly | Check safe working load and stability |
Say you're installing in a training room that's used for both adult seminars and primary school classes. A mobile stand with adjustable height might be the better choice. A buyer who wants a clean boardroom wall will go fixed. We don't make a recommendation either way without seeing the room.
Mounting Height for Adults and Children
Mounting height is not a one size fits all number. The centre of the screen should be around eye level for the main user group. For adult users, that's roughly chest to eye height when standing. For primary school children, it's lower. The ranking pages we looked at quote specific ranges, but we won't repeat numbers we can't source from a standard. The ANSI/INFOCOMM 2M-2010 Standard Guide describes the methods and procedures AV professionals use for design and integration, and it's a good reference for planning sightlines and ergonomics. Ask your AV consultant for a height that suits the room.
Leave clearance on both sides for presenter access. A presenter who has to squeeze between the panel and a whiteboard will block the screen. Also check the reach of the shortest user. If a child can't reach the top corner, the touch interface is useless.
Power, Network, and Cable Routing Behind the Panel
Position the power socket and network point within reach of the panel's connections. Our panels have different rear and front interfaces. For example, the SLINVUE Interactive Flat Panel (MT9679, Android 14) has HDMI, USB, Type-C, and touch ports on both the front and rear. You'll want the rear ports accessible for maintenance, not buried behind the mount.
Use cable trunking or conduit to keep cables tidy and safe. Loose cables behind a panel are a trip hazard and a dust trap. Plan for HDMI, USB, and Type-C connections to source devices. If you're using a wired LAN, run the Cat6 cable now. Wi-Fi is convenient, but a wired connection is more stable for screen sharing and updates. The IEEE standard for Power over Ethernet requires category 5 cable or higher for high power levels, so if you plan to use PoE for a connected device, spec the cable accordingly.
Don't run power and data cables parallel and close together. It's basic, but it's easy to forget when you're behind a panel. Keep the power socket accessible. If the panel needs a hard reset, you don't want to unplug it from a socket hidden behind a fixed mount.
Connecting Source Devices and the OPS Slot
Most installs need a laptop or PC connected via HDMI for video and USB for touch. That's the simplest setup. For a cleaner look, use the OPS slot on our interactive flat panels. The OPS module slides into the panel and gives you a full Windows PC without external cables. We list the OPS module as an accessory, but we don't publish its specs. Ask us for the compatible module for your panel model.
Check the front and rear interface availability before you finalise the install. A teacher might want a front USB port for a flash drive. A presenter might want a front HDMI for their laptop. Our panels often have front ports, but the exact set varies by model. Test touch and display before you put the panel on the wall. It's much easier to troubleshoot on a table.
First-Boot Setup and Device Management Enrolment
Power on the panel and complete the initial Android setup. You'll need a Google account or an enterprise enrolment token if you're using a device management platform. Connect to Wi-Fi or LAN and check for system updates. Our panels run Android 14, 15, or 16 depending on the model, and updates can take a while. Don't skip this step.
Enrol the panel in your device management platform if you use one. This is where you set policies, push apps, and lock down settings. If you're an IT admin, this is your control point. Install the required apps and configure user accounts. For education, that might mean a whiteboard app and a screen mirroring tool. For corporate, a meeting room booking app and a wireless presentation tool.
We don't publish a list of compatible MDM platforms. Ask us or the platform vendor. The panel's Android build and API level matter for enrolment, so get that from the spec sheet.
Handover Checklist for Installers and Customers
Before you leave the site, verify touch calibration and all inputs. Touch the screen in all corners, write with the stylus, and test the front and rear ports. Test audio. Play a video or a test tone from the built-in speakers and from the HDMI input. Test network. Open a browser and load a page, or ping the panel from a laptop.
Provide a summary of cable routing and mount details. The customer's maintenance team will need to know where the cables run and which fixings you used. Leave a quick-reference guide for daily use and basic troubleshooting. Include the panel's model number, the power button location, and the support contact. We answer enquiries within 24 hours, and our technical support is available around the clock.
Here's a checklist you can copy for your next install:
- Wall type confirmed (stud, masonry, drywall with backing)
- VESA pattern and panel weight checked against mount rating
- Mounting height set for primary user group
- Power and network points accessible behind panel
- Cables routed in trunking, not loose
- Source devices connected and tested (HDMI, USB touch, OPS)
- First boot complete, updates installed
- Device management enrolment done
- Touch calibration and audio verified
- Customer handed a summary and quick-reference guide
For a quote, send us the model or size you're considering, the quantity, your target market, and any customisation you need. Use the contact page and we'll get back to you within 24 hours.
Sources
Frequently asked
How much does it cost to install a SMART Board?
Installation cost depends on the wall type, the mount, the room, and your region. We don't publish installation prices. Ask local AV installers for quotes, and ask any panel supplier for the panel weight and VESA pattern so the installer can quote accurately.
Do SMART Boards need a computer?
Our interactive flat panels run Android and work without an external computer for basic whiteboarding and apps. You can connect a laptop via HDMI and USB touch for full desktop use, or use an OPS module for an integrated Windows PC.
How do you connect to a SMART Board?
Connect a laptop with an HDMI cable for video and a USB cable for touch. Some panels support Type-C for both. Or use the OPS slot for a built-in Windows module. Wireless screen sharing is also possible on most models.
What are the drawbacks of SMART Boards?
They are heavy and need proper wall support. Glare can be an issue in bright rooms. Touch calibration can drift over time. And they need updates and device management like any Android device. Plan for these in the install.
Request a quote
Send the model, size and quantity you are quoting. You get a spec sheet and a price back within 24 hours.
- Lead time
- Bulk orders in as little as 15 days
- Build options
- OEM and ODM
- Support
- 24/7 technical and customer support